Garage notes
How to use a cabinet hardware jig
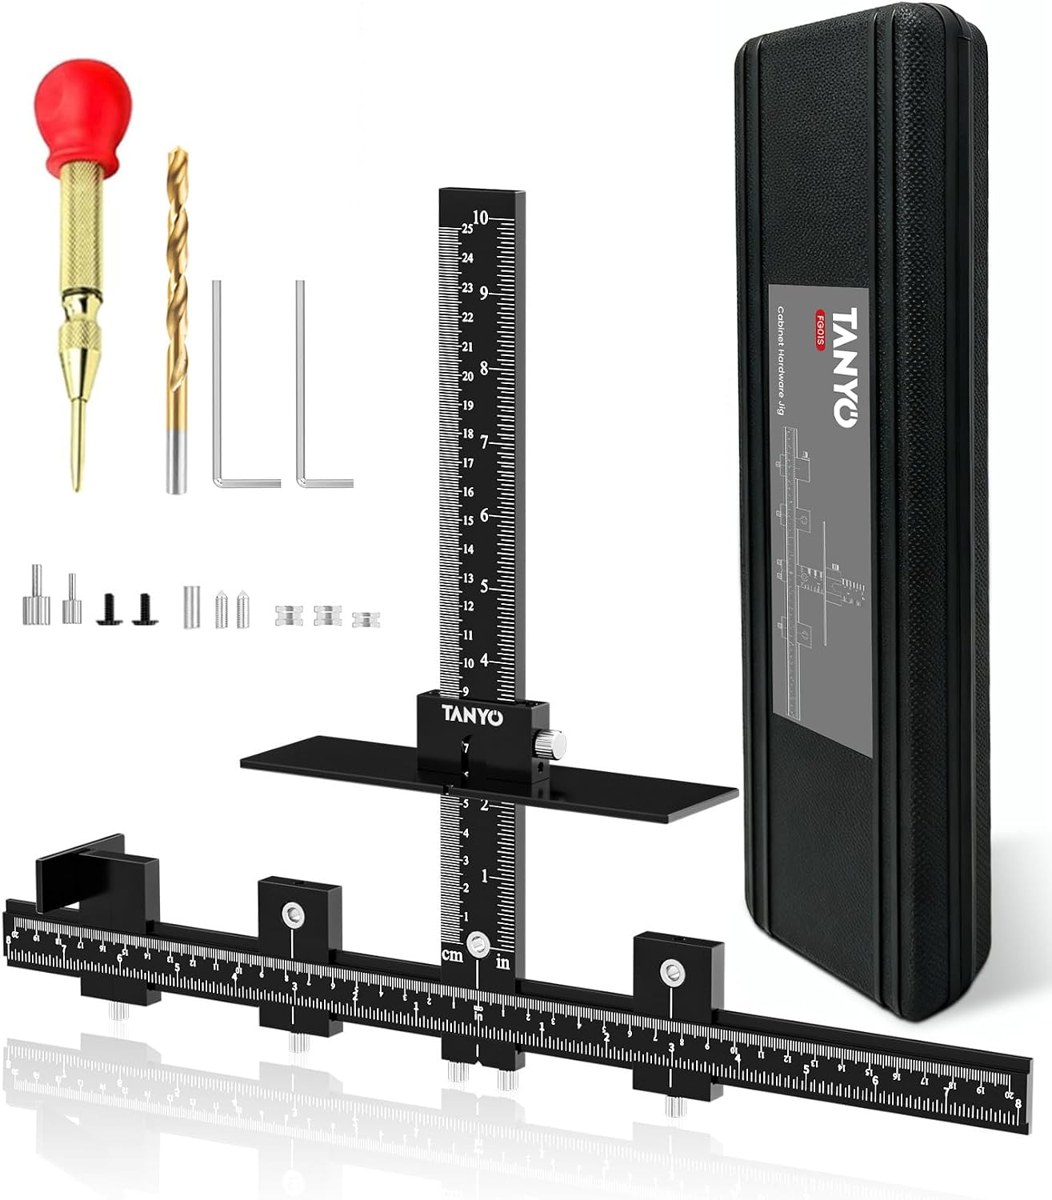
A cabinet hardware jig puts every handle and knob in the same place on every door and drawer. Set it once, check it on scrap, and the rest of the kitchen is drilling, not measuring.
1. Measure the handle
Handles are sold by their hole spacing, measured centre to centre: 3 in, 96 mm, 128 mm, 160 mm and so on. Measure the screw holes on the handle itself rather than trusting the box, and note whether the knob or pull is meant to sit vertically on doors or horizontally on drawers.
2. Set the jig
- Slide the drill guide to the handle's centre-to-centre spacing and lock it.
- Set the edge stop for the distance from the door edge — often 1 to 2 inches.
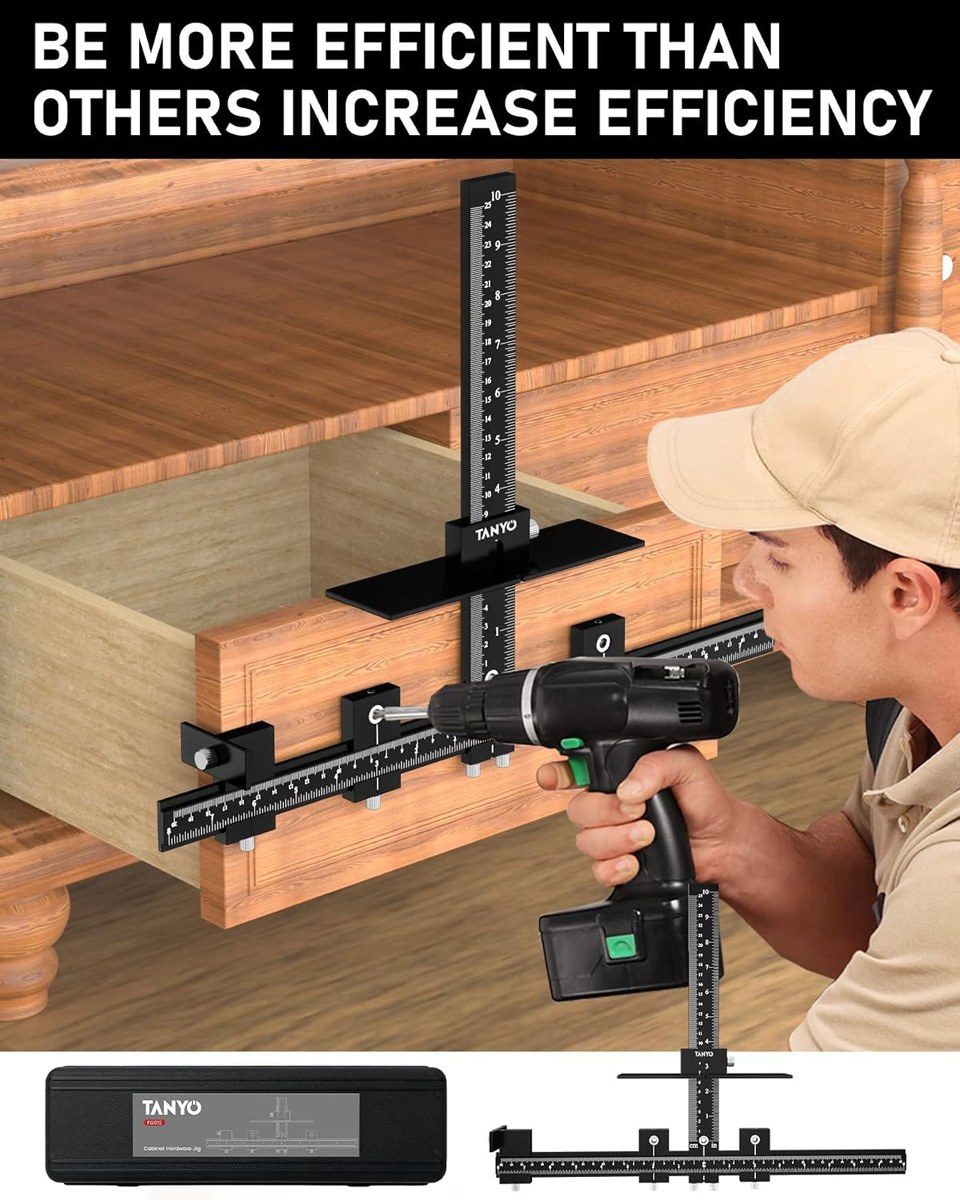
- For drawers, centre the jig on the drawer front using the centre scale.
Laser-cut scales on the aluminium body make each setting easy to repeat later.
3. Test on scrap
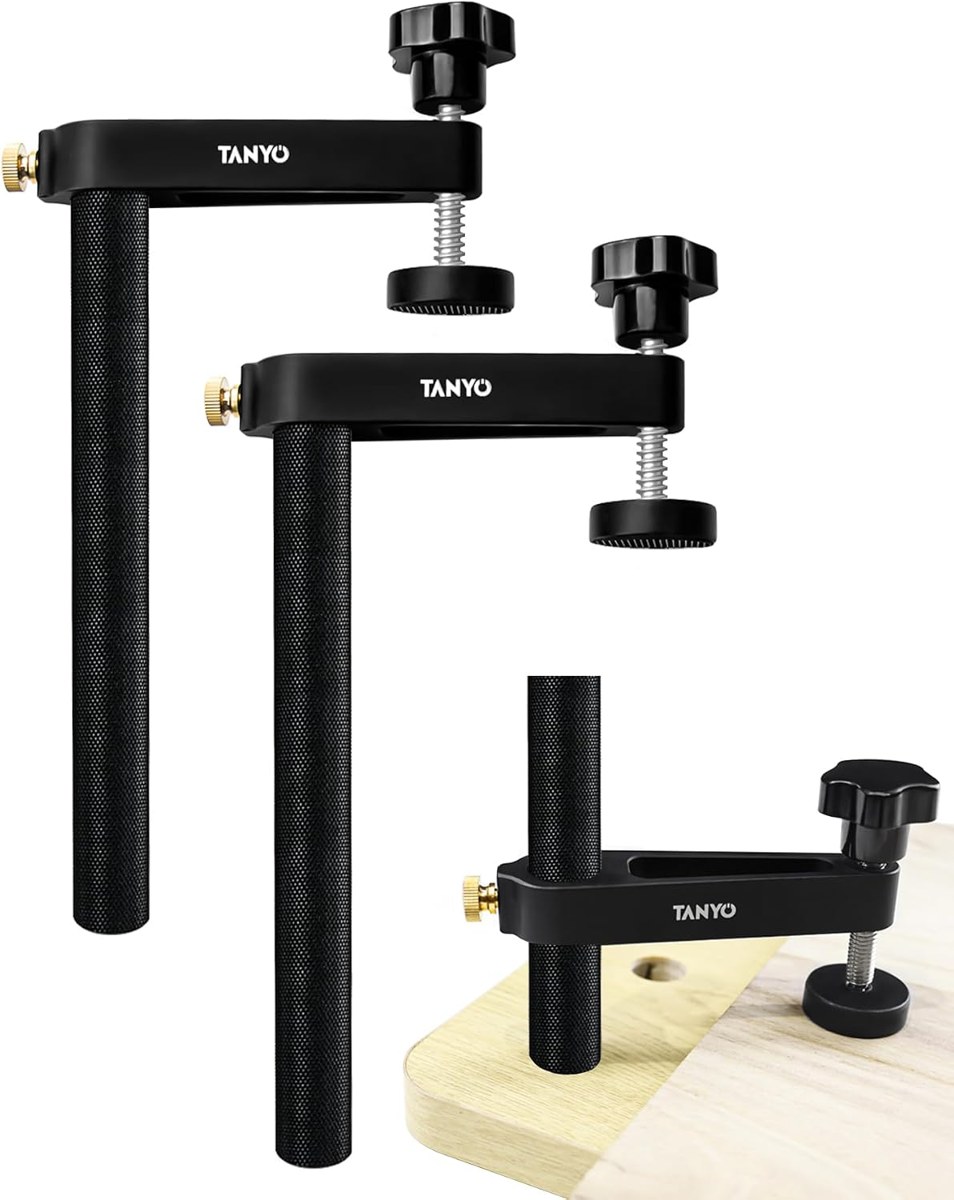
Clamp the jig to an offcut of the same thickness and drill. Fit the handle and check the screws line up and the handle sits where you want it. Adjust now, not on the third door.
4. Drill the run
Reference every door from the same edge — usually the opening side — and drill straight through the guide bushings with a sharp brad-point bit. Put a piece of scrap behind the door to stop breakout on the face, or drill from the front until the tip shows and finish from the back.
Keep the jig locked until every door and drawer in the run is done. If you need a second spacing, set it, test it again on scrap, and carry on.
5. Fit the hardware
Drive the screws from the back of the door into the pull or knob and tighten them by hand so the hardware sits flat without crushing the wood. Check each cabinet door and drawer against its neighbours as you go — with a jig the position should be identical, and any difference usually means the jig moved or the edge stop was not tight.
Common mistakes and how the jig avoids them
- Measuring every door with a tape: slow, and every measurement is a new chance for error.
- Mixing reference edges: always register from the same edge for accurate, matching placement.
- Drilling at an angle: the metal drill guide keeps the bit square, so screws line up with the pulls.
- Skipping the test hole: one hole in scrap wood confirms the setting before the real cabinet.
Pulls, knobs and drawer fronts
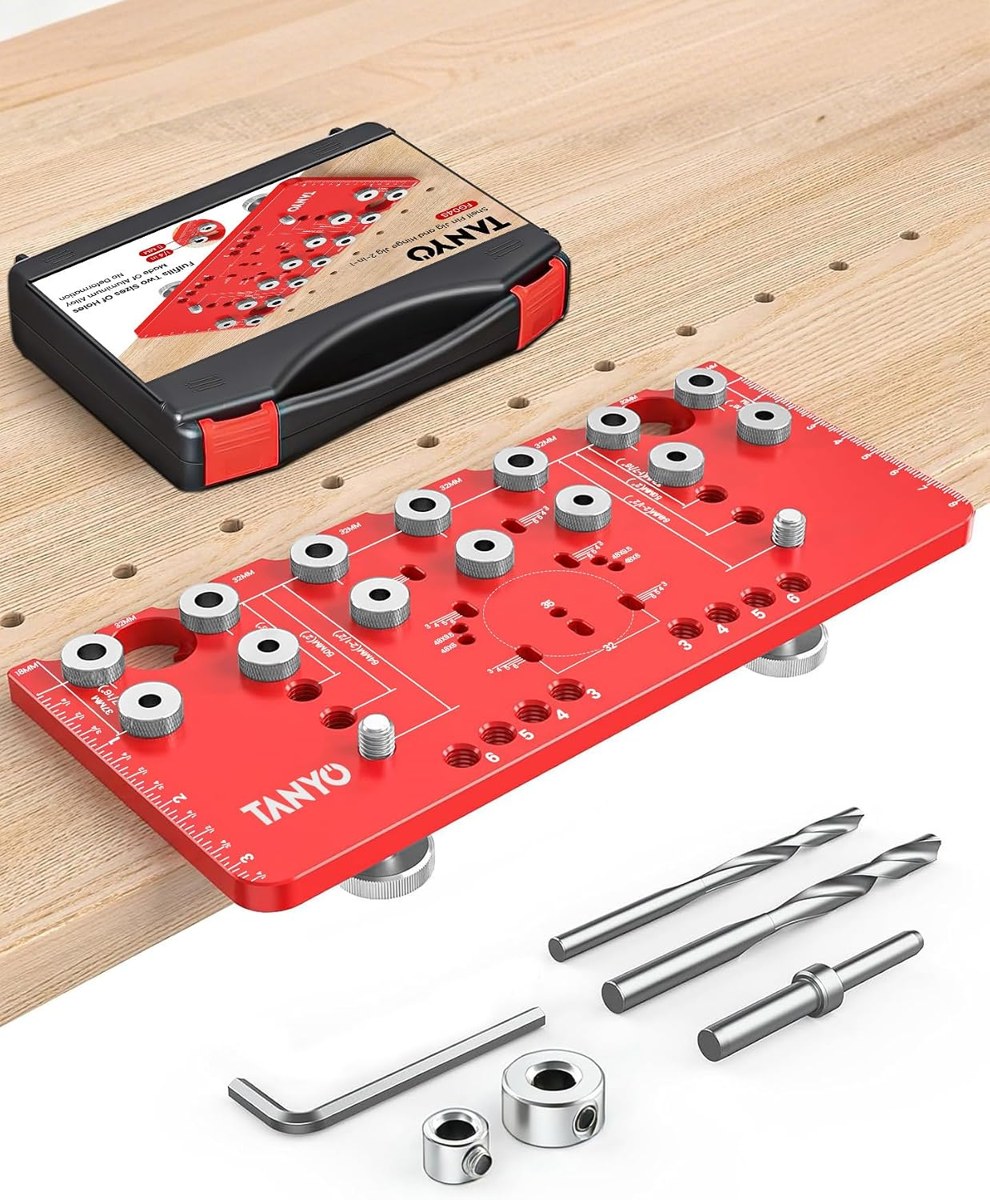
Knobs need one hole, pulls need two at the right spacing, and drawer fronts usually want the hardware centred. The TANYO cabinet hardware jig handles all three: single holes for knobs, adjustable spacing for pulls, and a centre scale for drawers of any width. It is the same tool professional installers use to install knobs and pulls quickly, and the precision is the same on the first door and the fortieth.